

New house build progress: Seal foundation and backfill on our house build, next...framing!
- Nurse Karl
- Jan 28
- 8 min read

29 Sep, 2021
September 2021 Update:
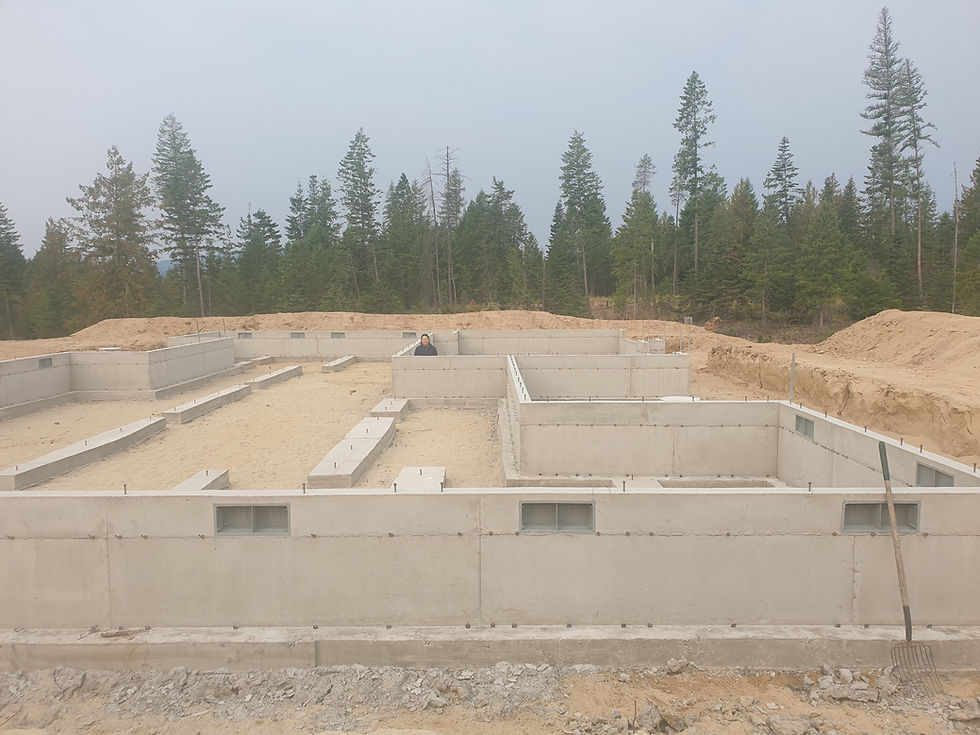
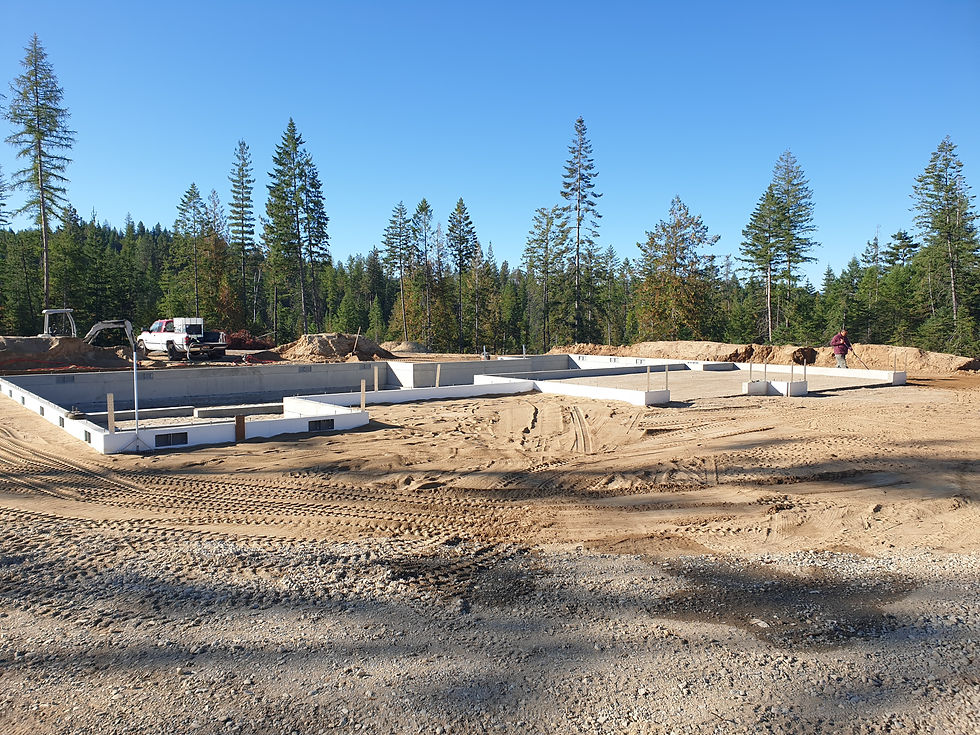
This is what we left behind last month... foundation walls complete, left to cure...
Just weeks ago, our foundation was completed. Progress seemed to take so long to get going, but now that it has started, I can’t wait to see how my forever house will unfold. The foundation has to cure for at least 10 days before waterproofing. Once waterproofing is completed, the area has to be backfilled.
Two weeks has passed and we are returning to continue our work. We are hauling our box trailer, packed with our excavator and house stuff. The excavator fits just right once we take the top off.
Central California has been hot this year, seems like every year keeps getting hotter, less rain, and the fires keep getting closer. California’s Governor Newsome is being threatened with a recall election and the Coronavirus pandemic which started in March of 2020 is returning for its 3rd wave. We have travelled through 29 states searching for our final destination and we have found it in North Idaho. Initially, I thought it would be cooler here, but there have been hot days the past couple of years matching Central CA. However, the heat is short lived and the nights cool down. Central CA used to report days in a row above 100 degrees F, but it seems like this summer, it was not days in a row, but weeks.
As we leave California and the fires behind us, I can’t wait to be back on my property in Idaho…
Waterproofing the foundation. We researched several products and they are a rubberized or asphalt based paint that get brushed on. I estimate it will take twenty 5-gallon buckets to cover the walls up to the vents. I would like to ask Construction Management Team for their help, but honestly, I am not sure how long it will take to paint the sealer on and the last thing I want to do is waste anyone’s time. I like to schedule things tight…looks like this trip, we will be doing it on our own.
We will also be installing underground drainage for the rain gutters.
That was our plan….THIS IS WHAT ACTUALLY HAPPENED:
We arrived in Idaho with truck and box trailer with our excavator tucked inside. This is the excavator’s last ride from California to Idaho. Though we would love to have it back on our farm, we really need to start thinking about getting our big items to our future home because we have so much stuff.
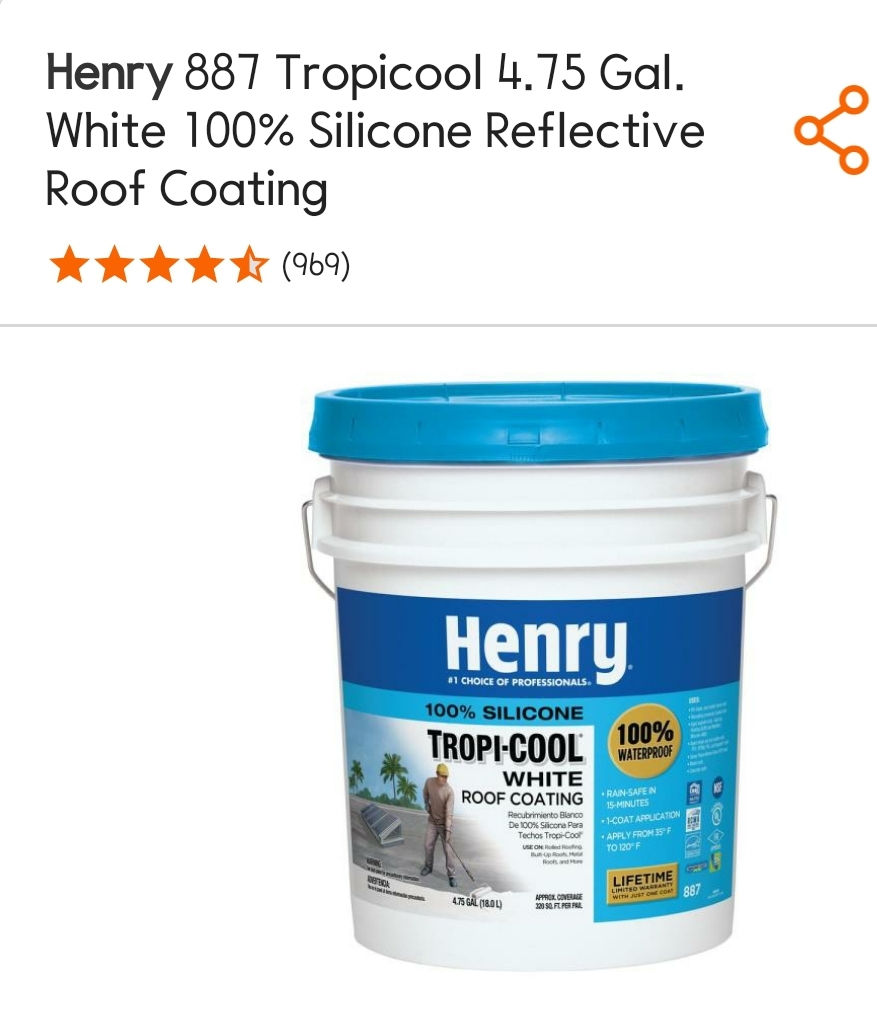
Our first day was spent shopping and gathering supplies. We purchased (20) Henry 5-gallon asphalt emulsion sealer and damp proofer which is black (@$38 each) and (2) buckets of Henry 4.75-gallon Tropi-Cool 100% silicone waterproof Roof Coating which is white (@$248 each). Our builder recommended painting the sealer up to the vents. We brushed on 2-3 coats of the black sealer using a flat roof brush, being careful not to leave pinholes – which by the way, takes meticulous effort. The stuff is thicker than house paint, but manageable, not super thick. A thick nap roller brush would also work. We tried that too but it seemed to leave more pinholes. First coat was the hardest because the concrete seems to just suck it up, subsequent coats went on easier.

It was pretty warm out so it seemed to dry pretty quick. The following day, I painted on the white roof coating and it looked really nice so I am glad I did that extra step instead of leaving the naked concrete. This stuff was thicker and rubbery, spread easily and dried quick. I used the same technique and applied 2 coats. The black area had cured overnight so we started backfilling the dirt.

There was hardware sticking out from the walls which were leftover from the forms used for the concrete. Builder said we could leave them, I decided to cut them all off. Was it necessary? Well, I would definitely cut all the nails off again because they stick out and eventually would rust. I cut them all off on the exterior and the interior of the crawlspace using a handheld cutoff wheel. Then there was a bracket on the bottom that held the wood forms in place. We cut them all off on the exterior, probably not necessary and we should have left them since they got buried anyway. Same brackets on the interior, we planned to pound them flat. Well…we forgot/ran out of time so they will be there – no big deal. Another thing that we did that probably didn’t need to be done was break off loose concrete around the exterior footing edges and threw all the excess into the garage before it was filled. This took almost a whole day. Did we save on rock? No, we still needed 7 truckloads, but we were slightly short so it may have helped as we would have been more short if we hadn’t done that.

The nails were cut off. Same type nails on the outside. (This is in the crawlspace)
We moved the loose concrete chunks to help fill the garage... Do you see how much room there is that needs backfilling? -Tremendous amounts of fill...

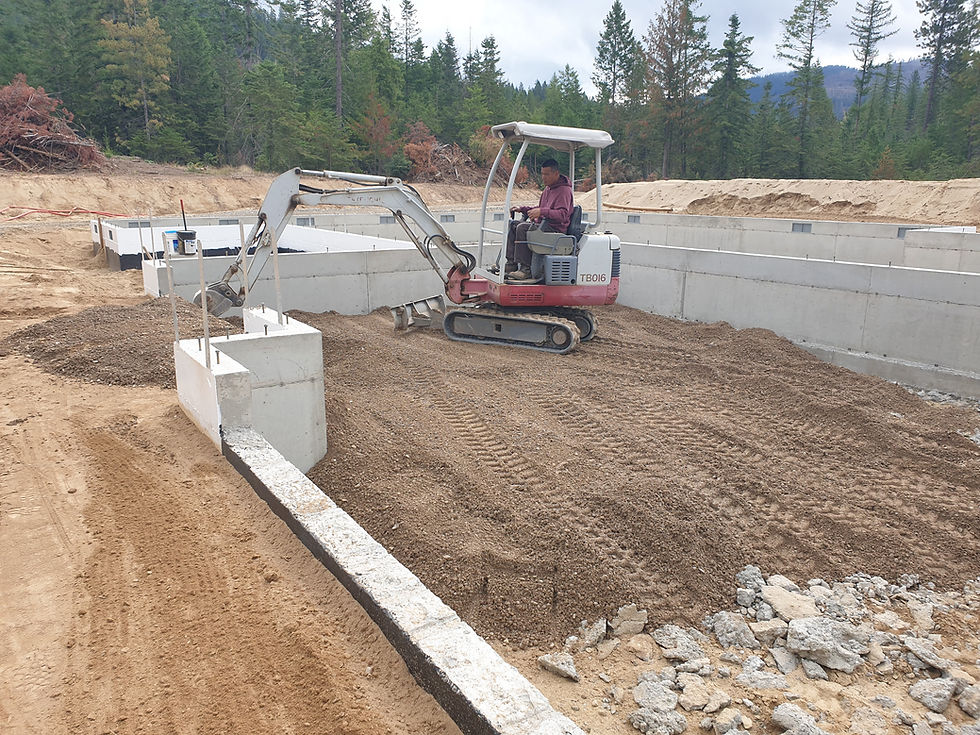
Backfilling the dirt was waaaaay more work than I had pictured in my mind. We purchased a plate compactor from Harbor Freight tools for about $600 (Love that store!). Art used the excavator to scoop and push, but our excavator is a smaller model and took a lot of sweeps to push dirt around. Plus, any roots, twigs, junk had to be picked out because that stuff will not pack. For every foot we filled, we wet it down and compacted the dirt. Since we have no well yet, the water came from our water totes which hold about 275 gallons each and we used a Harbor Freight Tools water pump to spread the water. The compactor did not glide over the dirt when it was dry, just sent up plumes of dust.

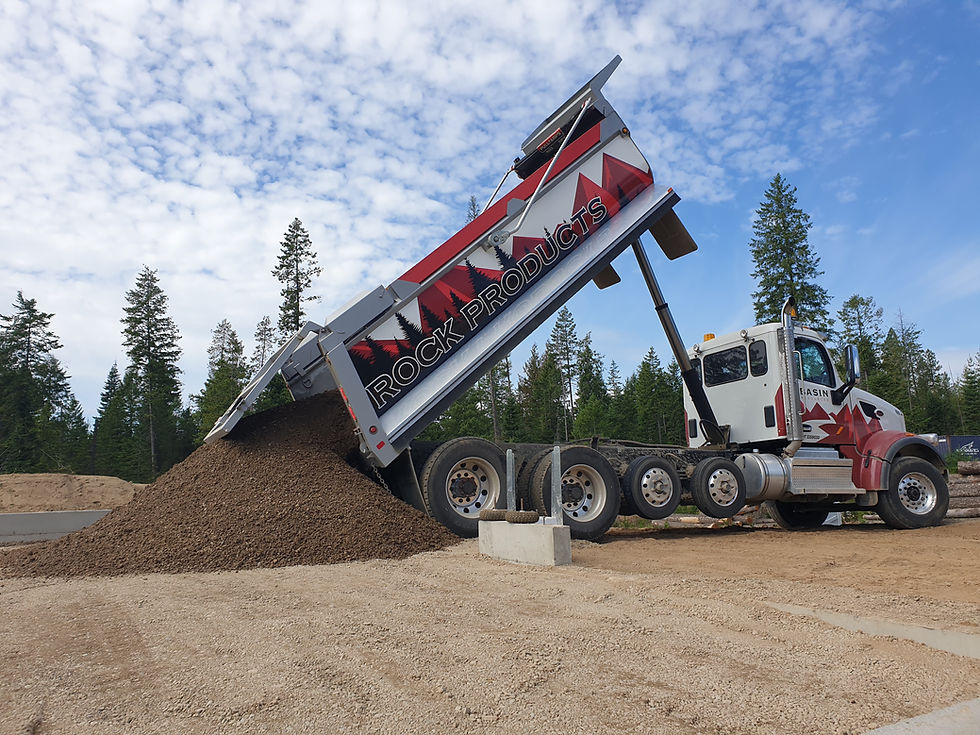
Simultaneously, we had multiple loads of rock delivered to fill the garage. We used GSB (Granular Sub Base rock). Originally I thought ¾ crush would be a good fill, but we spoke to the knowledgeable driver on his 1st run and he recommended GSB, which turned out to work out perfect. There needs to be a slope for drainage and we measured 8 inches from the topline at the back wall and 10 inches from the topline at the front. Using a chalk string, we snapped the line so we could see where we needed to fill up to. Our builder told me about 4 truckloads, it took a total of 7. Each truckload is 18 yards and we pushed it around and packed it after each load. This took 2 days. MOVING ROCK AND DIRT IS NO JOKE! We are so grateful to have an excavator! In between loads, we continued to backfill dirt also. We bought this excavator almost 15 years ago used for $15,000, and it is by far one of the best purchases we have ever made. When you have a farm or are doing work which involves moving land or large quantities of hay or feed, having some kind of machine will save you time and body wear and tear. I highly recommend it. We stretched ourselves to buy this machine and I hesitated at the time, but it is something I would go back to my younger self and say “you needed to do this.” This took a total of 3-4 days. When we are on property, we start work around 7 or 8am and keep working until we can’t see anymore which is around 8pm.
Excavator spreading the GSB rock in the garage space. You can see the chunks of concrete we threw in there on the ground.
Compacting the dirt/sand. Surprisingly, after compacting, the ground feels firm and barely makes footprints.
We raked and swept the floor of the crawl space within the foundation walls. I used a rolling and handheld magnet on a stick to look for and pick up any stray nails and metal (I would highly recommend this). The builders will lay a thick poly sheeting on the crawl space floor and any large concrete chunks, twigs, rocks, etc. could potentially hurt your knees later on if you need to get down there to do work so it is better to clear the floor. The crawl space looks significant enough for a basement and many people ask why we didn't go that route. Well...cost constraints...To dig deeper costs loads more as well as building up. We are already over budget by a significant amount, cost of the base house price went up $50K two months after we signed the contract. The contract states that the price is not fixed until the foundation is complete so we had no recourse. Then, with the skyrocketing lumber prices (which have since fallen back to almost normal), we were assessed an additional $27K in materials cost increase. We asked about an adjustment recently and were told that though some materials have gone back down again in price, cost of other materials have risen, and the cost of labor has also risen.
Our dirt consists largely of sand, excellent drainage and easy on the knees, but heavy to move. We planned to insert ground drainage around the footings. #1 time was flying by, #2 drainage is so good, we decided to bypass this step as it seems unnecessary. We planned to lay drainage for the gutters. Ground is easy to work with, not the granite hardpan we are used to in California and we have an excavator! So we will plan to do that later. Looking at the plans, I can deduce where the rain gutter spouts will come down, but we feel that it is better to wait and position them after the gutters are installed.
We finally finished the job and it took a solid week to damp proof and back fill, but I am so very happy with the results! We miscalculated how much product we would need so now we have to return a lot. In the end, what we used was 7.5 buckets of the (black) sealer and most of 1 bucket of the (white) roof coating. Was the white roof coating necessary?... maybe not, but it looks great. So approximate cost of product was $570, plus supplies used to apply, plus our labor.

Now…it is ready for the framers to come in and start! …Back to California…it is getting harder and harder to leave each time. North Idaho is starting to feel more like home.
As I write this, I have friends who have already left California to move to Colorado, Louisiana, Missouri, Montana, Arizona, Texas, and Idaho. We are not the only ones leaving. California is such a beautiful state; it has mountains and country, beaches and oceans, big cities and small towns, and so much to do and see. It is a shame that it has become a welfare state to the point that so many people don’t feel comfortable living here anymore. Gavin Newsome was not recalled. The taxes and cost of living are starting to outweigh the benefits for us. Check out my other Blog about how much we are saving…I will update as I go along so you can see how much we are saving by moving!
Update:
Last week of September: Builder will drop lumber and start framing! ...this news came with a disclaimer that there is a labor shortage and though they will do everything to keep the project on track, schedule will update from time to time, and delays are very possible.
Next trip, late October for our well drilling. I plan to video this, so check back if you want to see how a well is drilled!


Comments