

Water totes, temporary power, & final building permit...
- Nurse Karl
- Jan 28
- 6 min read

04 Aug, 2021
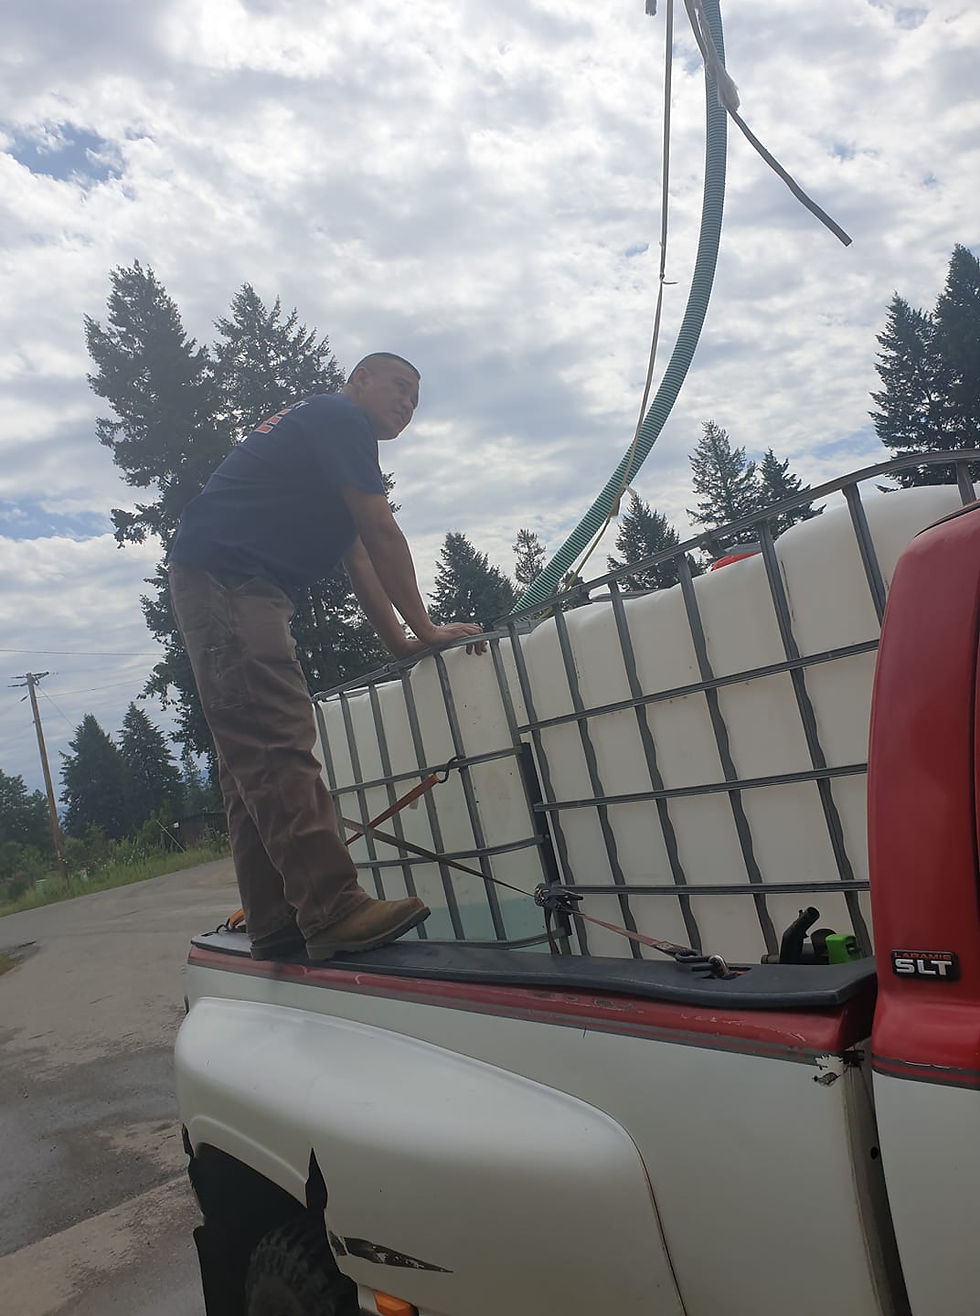
filling water totes at Athol Community Center
July 2021 Update
We had big plans for this trip…
1. Trim trees for Roads and Bridges Department as required to increase sight clearance for them to sign off. (This is the last piece needed for our building permit.)2. Place and fill water totes3. Meet with Health Department for perc test for future septic4. Meet with our house project manager5. Create pad for RV6. Recess front gate7. Install temporary power
What we accomplished…
We left Central CA on Monday with our excavator folded in our box trailer in tow and arrived in North Idaho on Tuesday late afternoon. We went to the property first to drop off the box trailer and then got right to trimming the trees. I emailed the Road & Bridges department that evening and the inspector came by first thing in the morning…amazing turn around. He signed off on our work and I emailed the Building Inspector that evening.
We purchased 2 water totes off of Facebook Marketplace in CA for $40 each and then a friend gave us 2 more (they are moving to Missouri!). We drove all the way from CA with 4 water totes stacked and strapped in our truck. Each one holds 275 gallons. This should meet the requirements of our builder for water on property until our well is installed. Our plan is to drop 2 on property and fill 2. We bought a water pump that will transfer the water from the filled totes to the empty ones. Empty, they weigh about 75 pounds so we can move them around. We went to the Sandpoint Fairgounds where I researched and found they have free water. Upon arrival, we discovered that it is BYOH (Bring Your Own Hose) and it is a regular water hose spigot. The man in front of us was filling his tote so I asked him a few questions. He said that it took about 45 minutes to fill 1 tote. We still needed a hose, so we left and we chose to go with Plan B. Athol has a water fill station at the Community Center. It is 50 cents per 100 gallons with a 3-inch hose (bring quarters, no change machine). [If you are in CDA, they also have a community water fill. You will have to go to their water dept and register to be able to access it.] Beautiful. It took about 10 minutes to fill both totes. The water just dumps out. We filled 2 totes, returned to the property, used our pump to fill our 2 empty totes, then dropped the other tote there. We stacked 1 on top of the other. Returned to Athol and filled the remaining tote and then stacked the empty tote on top. We wrapped the 2 full totes with a tarp to prevent algae growth. One tote is fitted with a removable spigot that can be detached and attached to one of the other totes.
Next task…appointment with health department on site for perc test. Leroy from Construction Management Team was once again our go-to guy to help us dig for the perc test. Our inspector had a trainee with her and she knew her stuff. She must have a geology degree of some sort. As Leroy dug several deep holes in the sandy soil, she jumped in and used her mini pick and to scratch the soil and she squeezed it together to see how good it molded in her hand. This had been done before on this property, but the report is only good for a year so this had to be done. We dug a hole where the last one was, but ended up opting for a spot closer to the house. Spot has to be far from well. A short rebar is pounded in the spot where we staked out the future well with a flag tied to it. Looks like a moose pooped all around the stick, I’ll take that as a good omen.

House project manager met us on site to stake out the house and discuss with Leroy how the area should be excavated for the foundation. He arrived at the same time as the health department. At first, I thought that was a bit hard to manage, but in the end, it was a good thing because we were able to discuss the future build plan together: excavation, health dept for septic, and house build. They were able to discuss the parts where their work overlap. Had they been separate times, I may have had to go back and forth with questions. Perc test and site inspection done.
Leroy made the perfect RV spot for us and I made arrangements for 2 loads of gravel to be delivered the next day. Since we arrived, we also worked on recessing the front gate when we didn’t have people coming to work with us.
Our front gate was straight across, parallel to the road, slightly recessed. After seeing trucks come and go, Art decided that it would be better to recess the front gate so that trucks would not block the road as they were waiting at the gate to enter. We bought 8” round fence posts for the vertical supports and 6” posts for the cross bracing. We used a gas powered post hole digger – a must have for fence building. Once we dropped the pole into the 3+ foot hole, we used gravel and dirt to firm it up, tamping it every so often. Make sure no weeds/grass don’t go in, you can’t tamp that. I added solar lights on top each pole and the result makes me very happy.
This is the BEFORE gate:

This is the AFTER:


Next, temporary power. Last trip, we installed a 400amp box and got energized. Now, we needed a way to access the power. It took a bit to find the right box, but we found a 200amp box. From the 400amp box, we buried 2 conduits to the other side of the driveway for our future house and shop. We accessed one of them for our box. Using the National electrical code, we found what wires to buy. We opted for the aluminum versus the copper wire. The aluminum wire was much more cost effective and is appropriate for the length needed. We needed to thread 4 large wires and 1 copper ground wire through. Don’t forget to get wire lube. We used a string with a plastic bag tied to the end of it and blew it from one end to the other with our blower. Then we wound the string around each wire and taped it. Art pushed the wire in while I pulled the string from the other end until the wire appeared. Once the wires and ground wire were all through, they were attached to the box. Don’t forget to have the power OFF during any manipulation that could have the potential for power running through it. We set the 200amp box, ran the wires and attached them first. Once that was all done, we connected the wires to live power last. That evening, I made an appointment online with the Building Dept. of Safety for the electrical inspection.
This is the 400amp box we installed on our last trip and the conduit we ran under the driveway...


Using one of the 2 conduit, we connected a temporary 200amp box for the house:


In the days to follow, the county building inspector came by and officially approved our building permit. He will come again once the walls are up to measure to determine house square footage. Now we are officially OK to start digging for the foundation.
Our electrical inspection was completed and passed. We passed raw copper wire for the ground. We were told that all buried wire should be insulated wire, but it would be OK for now. It should be fixed for the next stage when the temporary power is ready to be attached to the house.
One thing we had to reschedule for another trip was our appliance appointment. With rising costs of building, that is one thing I am not too concerned about. I am planning to keep my washer which is an original Kenmore side loading washer purchased in 1997 when my son was born– it has been a champ, never broke, and if not for anything else, sentimental value. And my Samsung refrigerator which I absolutely love.


Comments